Saturday, January 30, 2010
Sunday, October 04, 2009
Portable Photographic Studio - Blogtoberfest Day 4
In the meantime, I thought I might show you how I photograph my items. It's ironic that when I was doing my visual arts degree in photography, the subject I did least well in was small product photography, and yet, I do a lot of that for myself these days.
Eventually, I would love a small studio area with lights so that I could photograph at anytime of the day, in any weather, but for now I use natural light and a small pop-up light tent.

Really, it is very nice having this as my studio...
 My light tent then collapses down, I roll up the blue/green backing screen it comes with and then pop it back into the little bag it came in.
 I bought this from a photographic store in Japan, but there are a bunch of tutorials online that explain how to make a light tent of your own. For example this one, this one or this one.
My other studio of sorts, is photoshop. Here I've taken a photo of a bag, sitting on my ironing board using the natural light coming through the window. You can see my messy workroom in the background. No-one on etsy wants to see my messy room.
Tuesday, May 06, 2008
Kimono Kokeshi
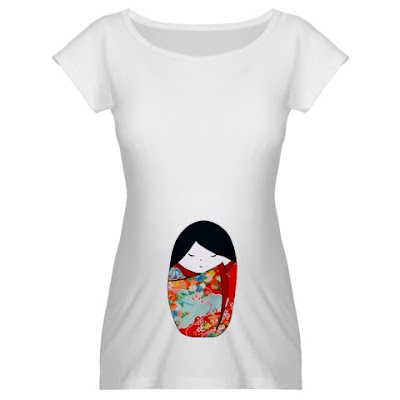
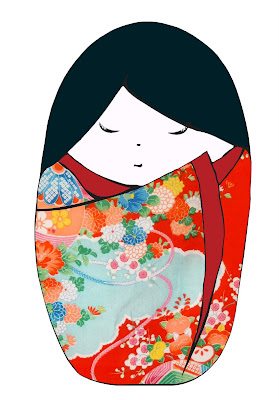
I've had a lot of fun playing more with my kokeshi design. I'm pretty pleased with how she's going. I've got a few plans for her later down the track as well. But for now, I've put her into my Café Press store. I have to confess, I haven't done much with my Cafe Press store, so it was about time there was a new design.

It could just be the whole nesting thing I'm going through, but I think she looks particularly cute on the maternity shirt.
 This time, I did two versions. One with her cut out and on a white background....
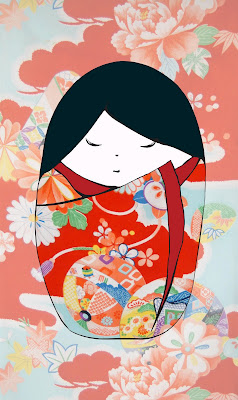
 .... and another on a kimono background.
Leni & Rose commented on the first version of her and asked how I got the background to fade out. On Photoshop, it's actually quite simple;
Make sure you've flattened your layers first. I now always try to save the photoshop document before I flatten the layers (which I'll later save as a jpeg or png depending on what I'm using it for), as so many times I've done work and then wished I could go back and tweak a layer but couldn't. Use the lasso tool to go around the edge of the object (in this case, the kokeshi) and once it's all selected, go to the "Select" tab at the top and choose "Inverse". Then use your eraser on the largest size possible, dial down the opacity (I used 40%), rub over the image and all done! To get out of it, just go back to "Select" and choose "Deselect".
Happy photoshopping!


